
Deck Guide: Joey’s Anti-Aggro Handlock
Author: Nayn
Even as we begin going into the 8th official season of Hearthstone, many of us have been feeling the effects of Undertaker. Face Hunter and Zoo Warlock have been all over the ladder, both filled with a myriad of cheap deathrattle minions such as Haunted Creeper. Unfortunately, this can make it difficult to be successful with some classic control decks such as Handlock.
Joey, a very proficient NA player who reached rank 9 legend last season, has made some very interesting edits to his Handlock deck in an effort to counter the resurgence of hyper-aggressive decks on the ladder. While Joey’s Handlock definitely has a higher chance of winning against Hunters than a standard Handlock, he agrees that you can’t expect it to suddenly become a favorable matchup.
“With a deck like Handlock that typically spends the first few turns losing health and not affecting the board, you’re always going to be vulnerable to fast decks that just want to kill you as quickly as possible. The best way to improve your chances of winning is really to just change your playstyle completely.”
Cards, Cuts, and Substitutions
Here I will go into the more questionable card choices and why they are included. I will also talk about cards that are not included that could have been.
Included:
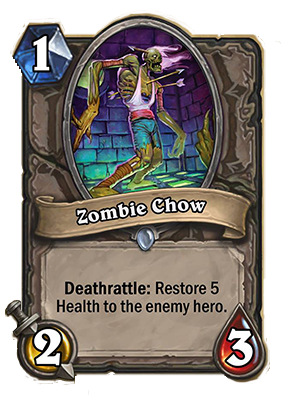 Zombie Chow
The most important and most unusual addition to this deck, Zombie Chow stands as an unlikely candidate, but he has definitely been performing. He is a particularly strong turn 1 play against Hunter, as he trades 2-for-1 with all of Hunter’s early minions (with the notable and unfortunate exception of Undertaker followed by a deathrattle minion).
In control matchups, especially the mirror, he is considerably worse, but he still has some merits. He is a good turn 1 play when you have the coin, because from there you can tap every turn without overdrawing. His deathrattle heal in Handlock is usually insignificant considering the speed at which Mountain Giants, Molten Giants, and Infernals can destroy your opponent’s life total. In the mirror, he can even deny Molten Giants from your opponents by healing them above 20 health.
Soulfire and Mortal Coil
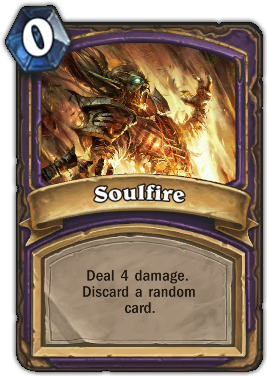 Soulfire and Mortal Coil are both strong cards, but I feel that there is not enough space in the deck for two of each.
Mortal Coil is for killing 1-health minions against aggro, and against control, it allows your Twilight Drakes to take out 5-health minions. Soulfire is a huge tempo gain, at the cost of card advantage. As a Handlock, you should be able to spare an extra card. However, it feels like it often discards an extremely important card that you would have needed to win the game. When using Soulfire, think of the worst-case scenario and take a bit of caution.
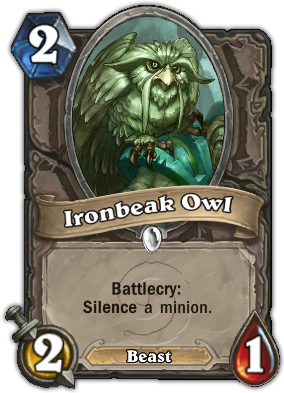 Ironbeak Owl
I think Ironbeak Owl is extremely valuable and definitely deserves 2 spots in the deck. It can be used offensively to activate Ancient Watchers, but more often I find myself using it defensively. Against control, it can be used to silence high-value minions such as Tirion Fordring and Sylvanas. In the mirror matchup, it can be used with Mortal Coil to easily take out a Twilight Drake and cycle a card. Against aggro, I often use it to silence deathrattle minions before clearing the board, or to shut an Undertaker down before it gets out of control.
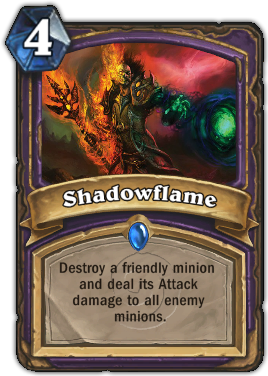
I think that Hellfire is more important than Shadowflame against aggro because it is instant and unconditional. There is often not enough time or mana to set up a minion that you will use Shadowflame on. Double Hellfire is also a decent finisher, providing a bit of extra damage when your damage on the board is a bit short. Shadowflame is pretty good against control, when you have the time to play your Mountain Giants and then Shadowflame them later to destroy several big cards for two. It is especially good in the mirror matchup, which can often come down to who Shadowflames first.
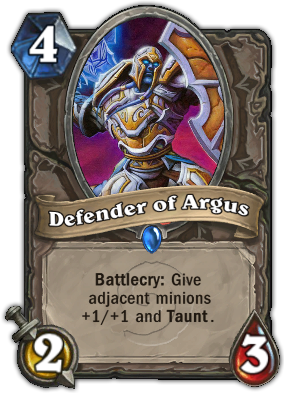 Defender of Argus
Some greedier variations of Handlock have chosen to eschew one Defender of Argus. While I don’t think this is a terrible move, it just doesn’t provide enough defense in a hyper-aggressive meta. In addition, I think two Defenders of Argus are necessary in decks that run Lord Jaraxxus; taunting up Infernals gives you the time you need to overwhelm the opponent with 6/6 bodies and stops them from bursting you down.
 Loatheb
In Hearthstone, one turn can easily decide a game. Loatheb gives you that to ensure that your opponent can’t turn around the game before it is too late. I think a big mistake that people make is playing Loatheb on turn five. I only play Loatheb as a body when I am really desperate for some power on the board and there is no other alternative. Joey says,
“I never play Loatheb unless I am setting up for lethal or preventing lethal from my opponent next turn. Loatheb has one of the strongest battlecries in the game, and it’s very important that you don’t waste that.”
Loatheb is incredibly strong when your opponent has put you below 10 health. You can set up your lethal and prevent your opponent’s lethal at the same time by playing two Molten Giants, Loatheb, and a Sunfury Protector or Defender of Argus. This puts at least 23/24 worth of stats on the board, and leaves your opponent with very little options by way of spells.
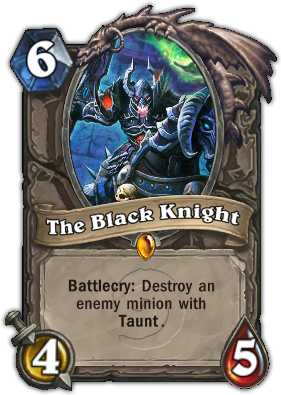 The Black Knight
The Black Knight is definitely not an auto-include in this deck, but right now I think he is valuable enough to earn a slot. Sludge Belcher is still a card that I have been seeing in almost every deck, with even some Hunters running him.
Not included:
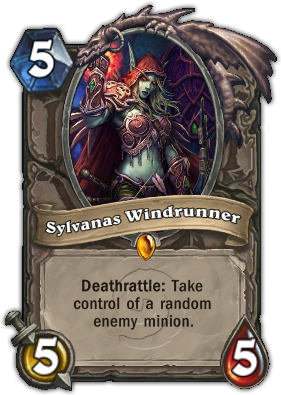 Sylvanas Windrunner
Sylvanas is definitely a great card against control, but I think the meta is too fast for her right now. She does nothing on the turn she is played and will not stop a Hunter from throwing all his minions at your face.
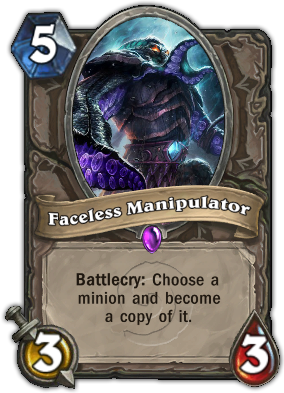 Faceless Manipulator
Joey runs one Faceless Manipulator, but I think that it suffers from the same problem as Sylvanas. While you can copy one of your taunts, I think against aggressive decks it really does not do enough, since the only cards Hunter has that are worth copying are Savannah Highmane, Sludge Belcher, and Loatheb (and not all decks run those). If your meta is slow enough, this is definitely a card to consider.
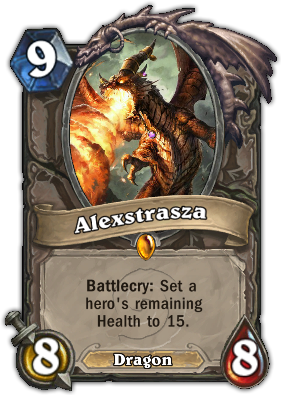 Alexstrasza
Alexstrasza is normally a card that some people run instead of Jaraxxus. If you don’t own Jaraxxus, then this is definitely the best replacement, but I think Jaraxxus is a more impactful card in the end. Against aggressive decks, all that really matters is the life reset, so the cards are pretty much the same. However, against control decks (especially Priest, which lacks burst), the steady stream of Infernals is just too much for your opponent to handle.
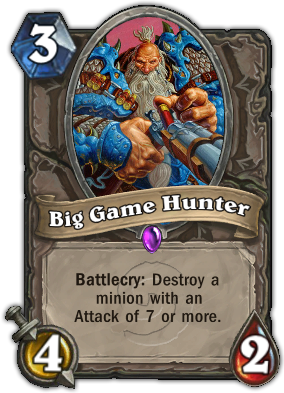 Big Game Hunter
Simply put, this card is a counter to Handlock. I see another Handlock pretty rarely, and definitely not enough to include a card that might as well be unplayable unless you want to destroy your own Mountain Giant.
Deck Matchups and Mulligans
 Face Hunter
A very tough matchup. Look for Hellfire, Zombie Chow, and Molten Giant. It’s alright to keep Mortal Coil, and I have even been toying around with the idea of keeping Lord Jaraxxus. It seems pretty counter-intuitive, but that card is your win condition, and stabilizing is very rough if you don’t draw into it. As a relatively unlucky person, I don’t trust the game engine to let me draw into Jaraxxus later. If you have Ancient Watcher and Ironbeak Owl in your hand with the Coin, definitely keep that. Having a silenced Ancient Watcher on turn 2 is a great way to take board control. Keeping Ironbeak Owl alone is not wrong; I’ve been playing around with it and it is definitely a decent response to Undertaker.
Remember not to get greedy. Sometimes you may want to save your Hellfire to get more value out of it, but that will usually end up with you taking too much damage. You should always be aware of the threat of Kill Command, so remember to kill Beasts when you can. Don’t try to tap every turn until turn 4; it is important to get presence on the board. Don’t expect to play Mountain Giants either - they are usually dead cards in this matchup. Don’t attack into Freezing Traps; it is better to just taunt up and not attack at all until you have stabilized. Try to pop Freezing Traps with your Sunfury Protectors, Defenders of Argus, and Earthen Ring Farseers.
 Zoo Warlock
This matchup is pretty similar to Hunter. However, it is probably easier since they don’t have cards like Freezing Trap and Hunter’s Mark to deal with your big threats. Look for Hellfire, Molten Giant, and Zombie Chow once again. I don’t think I would keep Mortal Coil, but once again I have been playing around with keeping Lord Jaraxxus and Ironbeak Owl. I don’t think you should keep Ancient Watcher and Ironbeak Owl with the Coin, however; they can get rid of it very easily with cards such as Abusive Sergeant and Power Overwhelming.
Once again, don’t get greedy with your Hellfires. When you clear the board, be careful about any deathrattle minions such as Nerubian Egg. Again, don’t expect to play Mountain Giants, and especially not on turn 4.
Handlock
This is actually a pretty rare matchup. However, you want to look very hard for Mountain Giant. It is alright to keep Twilight Drake and a combination of Ironbeak Owl and Mortal Coil. However, you can’t reliably differentiate between Handlock and Zoo during mulligans anymore, and I usually just assume that the enemy Warlock is playing Zoo.
Don’t be afraid to Jaraxxus a bit early if you have a good opportunity. If your opponent has no board and you are safe to play Jaraxxus, it is worth considering, as it can overwhelm Handlock if they are out of Shadowflames. However, remember that your Molten Giants will become essentially unplayable, so try to get at least one out before you use Lord Jaraxxus.
It is extremely important to play around Molten Giants. Never put a Handlock low enough to play Molten Giant and Shadowflame; this is one of the biggest swings in the mirror matchup. It is perfectly fine to not attack and build up your board. Never give your opponent the ability to play Molten Giants if you cannot deal with them easily.
 Druid
Druid
This matchup is actually harder than people might think, solely because of the Force of Nature and Savage Roar combo. After turn 9, you cannot afford to play around The Black Knight, because without taunts you are essentially dead. If you cannot draw into your taunt givers in time, it is very hard to win. Look for Mountain Giant and Twilight Drake. Keeping Hellfire may be alright, since many Druids are playing small minions like Haunted Creeper and Shade of Naxxramas.
It hurts to have to play around the combo so much, but most Druids are running 2 copies and they usually have it in their hand. Since Druids have very few ways to deal with your big threats, the combo is their only real way to win, but it is a very good one. If a Druid ever plays Druid of the Claw and charges it to your face, there is an almost 100% chance that the combo is in their hand.
 Shaman
Shaman has always been considered a counter to Handlock due to Hex and Earth Shock being good answers to Mountain Giants and Twilight Drakes respectively. However, I think this matchup is a lot easier than people think. You have more threats than they have answers, and you will win as long as you can avoid being bursted down. Look for Mountain Giant, Twilight Drake, and Hellfire. I will keep Zombie Chow with the Coin, and I will also keep Ironbeak Owl for Flametongue Totem.
Just get some taunts up and remember that the Shaman could have Lava Burst, Doomhammer or Al’Akir with Rockbiter, Bloodlust, or some other form of burst damage in hand. It may feel pointless to kill Totems, but if you ignore them you will be punished by Flametongue Totem, Defender of Argus, and sometimes Bloodlust.
 Control Priest
This is one of the easiest matchups you will find. Look for Twilight Drake, and keeping Mountain Giant is fine. Even with the coin, don’t play Zombie Chow on turn 1 or you will get farmed for cards by Northshire Cleric.
Priest has barely any burst damage, so once you play Jaraxxus you will basically have won. The Priest cannot deal with an Infernal every turn, and the lack of burst means that they cannot really ignore the Infernals. However, don’t forget that Holy Fire and 2 Holy Smites is always a possibility to deal 9 damage for 8 mana. It definitely feels silly to lose to that. There are only two things to really remember. Respect Northshire Cleric, and make killing it a high priority. Finally, don’t use Defender of Argus on your Twilight Drakes. Their 4 attack makes them a huge pain for Priests to deal with, and Defender of Argus will bring them into range of Shadow Word: Death.
 Control Warrior
Another very easy matchup. Look for Twilight Drake and Mountain Giant. It may be alright to keep Zombie Chow if you have the Coin, because it is very good at chipping down the Warrior’s armor so that he cannot use Shield Slam on turn 4.
Warrior is another class that does not have a good response to Lord Jaraxxus and his 6/6 infernals every turn. Make sure you keep the Warrior’s armor down so that he cannot Shield Slam your giants. Be aware of the threat of Grommash Hellscream. If a Warrior saves his final attack on Death’s Bite, it is likely he has Grommash Hellscream in hand.
Finally, be sure to play around Brawl. Never overcommit many threats to the board or Brawl will make you regret it for sure.
 Miracle Rogue
Just look for Mountain Giant and Twilight Drake. It is important to have taunts up to prevent any Cold Blood shenanigans. Using a Shadowflame on an Ancient Watcher to kill a Gadgetzan Auctioneer is usually worth it. There is really not that much to say about this matchup; I think it is pretty draw-dependant.
 Control Paladin?
Rumor has it that there are still a few Paladins hiding in the ladder. If you can manage to find one, you should look for Mountain Giant and Twilight Drake. Keep Hellfire for after they use Aldor Peacekeeper, and keep Zombie Chow to get rid of their early tokens.
Make sure to always play around Equality. The Paladin can unconditionally clear the board twice, so never stack power unless both Equalities have been used. Paladin is another class without burst damage that struggles to deal with Lord Jaraxxus.
 Freeze Mage
I have never been one to concede based on the matchup. However, if there was ever a matchup to make you instantly concede, it is this one. Look for Twilight Drake and Mountain Giant. Keep Loatheb, since it is probably the most important card in the matchup and not drawing into it is almost a definite loss. You may want to keep Ironbeak Owl to silence Doomsayer.
Handlock, being a slow deck, falls right into Freeze Mage’s ideal game plan. It is an extremely non-interactive deck and the Mage might as well be playing in Practice Mode against the Innkeeper. It is imperative to save your Earthen Ring Farseers for after the Mage uses Alexstrasza. You must also save Ironbeak Owls for her Doomsayers and save Loatheb for after she uses Alexstrasza.
The best way to win this matchup is to pray that the Mage draws terribly. Don’t forget that you can still be killed even if the Mage has not used Alexstrasza, since Handlock hemorrhages health through Life Tap. Archmage Antonidas must be removed immediately after it is played, so saving a Siphon Soul for him is ideal.
Conclusion
I hope you enjoyed this deck guide! Of course feel free to try it out and post your results below in the comments section. Good luck, and may all of your Hunters roll Leokk.
SIMILAR ARTICLES


You must be logged in to reply to this topic.